The Seed Cleaning Process Explained
- broncoseedgrain
- Mar 2
- 2 min read
Seed quality impacts crop success. Clean seeds mean better germination, fewer diseases, and higher yields. I’ll break down the seed cleaning process clearly and practically. This guide helps you understand how to prepare seeds for planting efficiently.
Understanding the Seed Cleaning Process
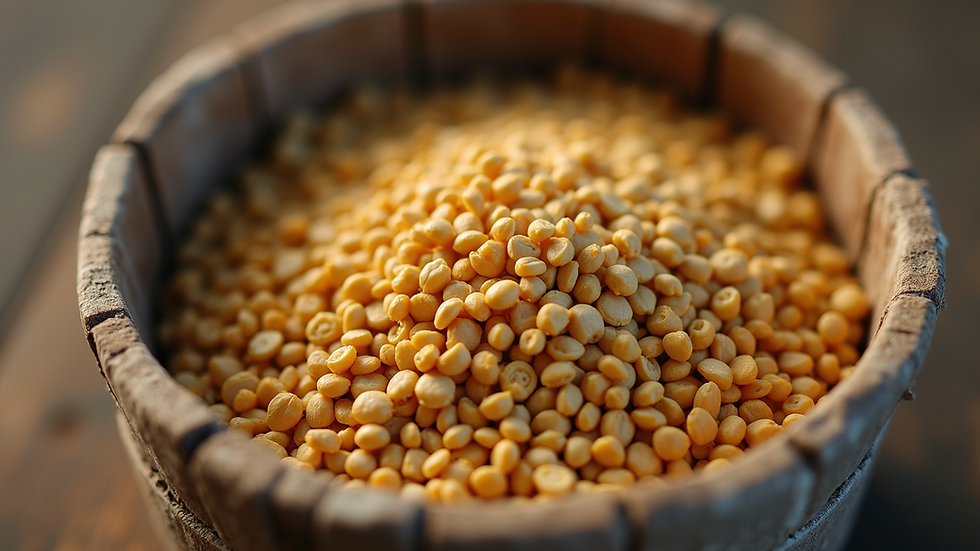
Seed cleaning removes unwanted materials from harvested seeds. Dirt, chaff, broken seeds, and weed seeds get separated. The goal is to get pure, healthy seeds ready for planting or sale.
The process involves several steps:
Pre-cleaning: Removing large debris like sticks and stones.
Screening: Using sieves to separate seeds by size.
Gravity separation: Removing lighter or damaged seeds.
Magnetic separation: Extracting metal particles.
Final polishing: Cleaning seed surfaces.
Each step improves seed quality. Clean seeds reduce disease risk and improve seedling vigor.

Key Equipment Used in Seed Cleaning
Seed cleaning requires specialized equipment. Here are the main types:
Seed cleaners: Machines with screens and air blowers.
Gravity tables: Separate seeds by weight.
Magnetic separators: Remove metal contaminants.
Seed polishers: Clean seed coats.
Using the right equipment speeds up cleaning and improves seed purity. For example, gravity tables remove shriveled or hollow seeds that screens miss.
Maintenance is critical. Clean equipment regularly to avoid contamination. Calibrate machines for the specific seed type.
What are the 4 methods of seed testing?
Testing seeds ensures quality before planting. The four main methods are:
Germination test: Measures the percentage of seeds that sprout under ideal conditions.
Purity test: Determines the proportion of pure seed versus other material.
Moisture test: Checks seed moisture content to prevent spoilage.
Seed health test: Detects seed-borne diseases or pests.
These tests guide cleaning decisions. For example, high moisture seeds need drying before storage. Germination tests confirm seed viability after cleaning.
Practical Tips for Effective Seed Cleaning
To get the best results, follow these tips:
Sort seeds by size before cleaning to optimize screen settings.
Use air blowers to remove light debris and chaff.
Run multiple passes through gravity tables for better separation.
Avoid over-cleaning which can damage seeds.
Store cleaned seeds in cool, dry conditions to maintain quality.
Regularly inspect seeds during cleaning. Remove broken or discolored seeds manually if needed. This improves overall seed lot quality.

Why Clean Seeds Matter for Texas Farmers
In Texas and nearby states, climate and soil conditions demand high-quality seeds. Clean seeds reduce disease spread and improve drought tolerance. They also ensure uniform crop stands, which simplifies management.
Using a professional seed cleaning service saves time and money. It guarantees seeds meet quality standards and are ready to plant. This reduces replanting costs and increases yield potential.
For those interested, the seed cleaning process offers a reliable way to prepare seeds efficiently.
Maximizing Seed Value Through Cleaning
Clean seeds command better prices in the market. They also reduce the need for chemical treatments. This lowers input costs and environmental impact.
Investing in seed cleaning equipment or services pays off quickly. It improves seed quality, crop performance, and profitability.
Focus on:
Consistent cleaning routines
Proper equipment use
Regular seed testing
These steps ensure seeds perform well in the field.
This straightforward approach to seed cleaning helps you get the most from your seed investment. Clean seeds mean stronger crops and better returns.


Comments