Step-by-Step Cleaning Seeds Process
- broncoseedgrain
- Jan 13
- 3 min read
Cleaning seeds is essential for planting success. It removes debris, broken seeds, and contaminants. Clean seeds improve germination rates and crop quality. I will guide you through the cleaning seeds process with clear, practical steps.
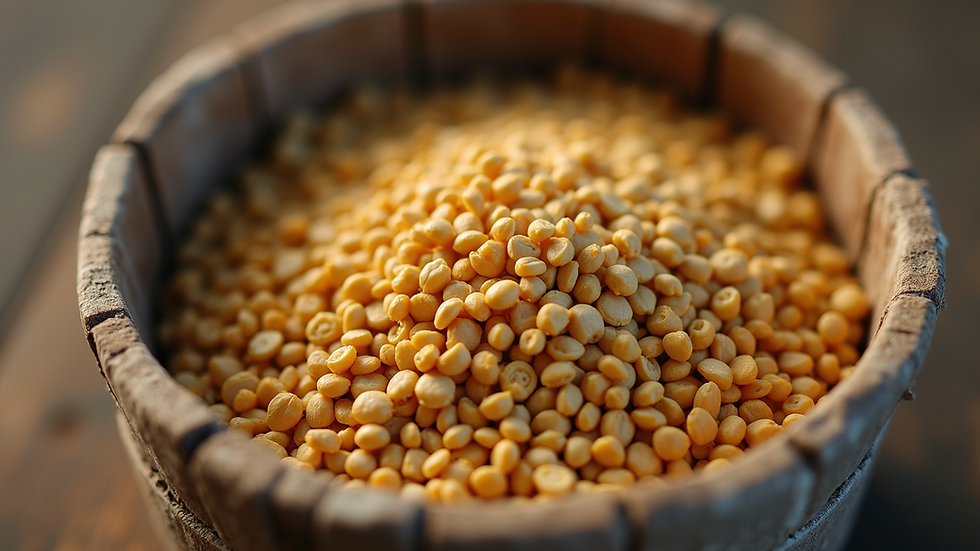
Understanding the Cleaning Seeds Process
The cleaning seeds process starts with sorting. Seeds come mixed with dirt, chaff, and other materials. The goal is to separate viable seeds from unwanted matter. This improves seed quality and reduces disease risk.
Steps include:
Removing large debris
Separating seeds by size and weight
Eliminating broken or damaged seeds
Removing dust and fine particles
Each step uses specific tools or machines. Proper cleaning saves time during planting and increases yield.

Step 1: Initial Sorting and Removal of Large Debris
Start by removing large debris like sticks, stones, and plant parts. Use a screen or sieve with holes larger than the seeds. Shake or blow air to separate heavy debris.
Tools:
Coarse screens
Air blowers
Hand sorting trays
This step prevents damage to cleaning equipment and speeds up the process.
Step 2: Size and Weight Separation
Next, separate seeds by size and weight. Use screens with different hole sizes to sort seeds. Lighter or smaller seeds and debris fall through. Heavier, good seeds stay on top.
Equipment:
Graders with multiple screens
Gravity tables to separate by weight
This step removes immature or broken seeds. It also helps classify seeds for uniform planting.
What are the 4 Methods of Seed Testing?
Testing seeds ensures quality before planting. Four common methods are:
Germination Test - Measures percentage of seeds that sprout under ideal conditions.
Purity Test - Determines percentage of pure seed vs. other material.
Moisture Test - Checks seed moisture content to prevent spoilage.
Vigor Test - Assesses seed strength and ability to grow under stress.
These tests guide cleaning and storage decisions. They help avoid planting poor-quality seeds.
Step 3: Removing Broken and Damaged Seeds
Broken seeds reduce crop uniformity. Use a gravity separator or aspirator to remove them. These machines separate seeds based on density and shape.
Tips:
Adjust settings to target damaged seeds.
Run seeds through multiple times if needed.
Inspect samples regularly.
Removing broken seeds improves germination and reduces disease risk.

Step 4: Final Cleaning and Dust Removal
The last step removes dust, fine dirt, and light chaff. Use air screens or aspirators. This step polishes seeds and improves appearance.
Recommendations:
Use clean, dry air.
Avoid over-blowing which can damage seeds.
Store cleaned seeds in dry, cool conditions.
Clean seeds are easier to handle and store. They also reduce contamination during planting.
Storing and Handling Clean Seeds
After cleaning, store seeds properly. Use airtight containers or bags. Keep seeds in a cool, dry place. Label containers with seed type and cleaning date.
Storage tips:
Avoid moisture buildup.
Check seeds periodically for pests or mold.
Use cleaned seeds within recommended time frames.
Proper storage maintains seed quality until planting.
Why Use Professional Seed Cleaning Services?
Professional services like Bronco Seed & Grain Co. offer advanced equipment and expertise. They save time and ensure high-quality seeds. This is especially useful for large farms or diverse seed types.
Benefits:
Access to specialized machinery
Consistent cleaning quality
Time and labor savings
Expert advice on seed handling
For farmers in Texas and nearby states, professional cleaning supports better crop outcomes.
For detailed guidance on the seed cleaning process, visit Bronco Seed & Grain Co. Their expertise helps you get ready-to-plant seeds efficiently.
Clean seeds mean better crops. Follow these steps to improve your seed quality and planting success.


Comments